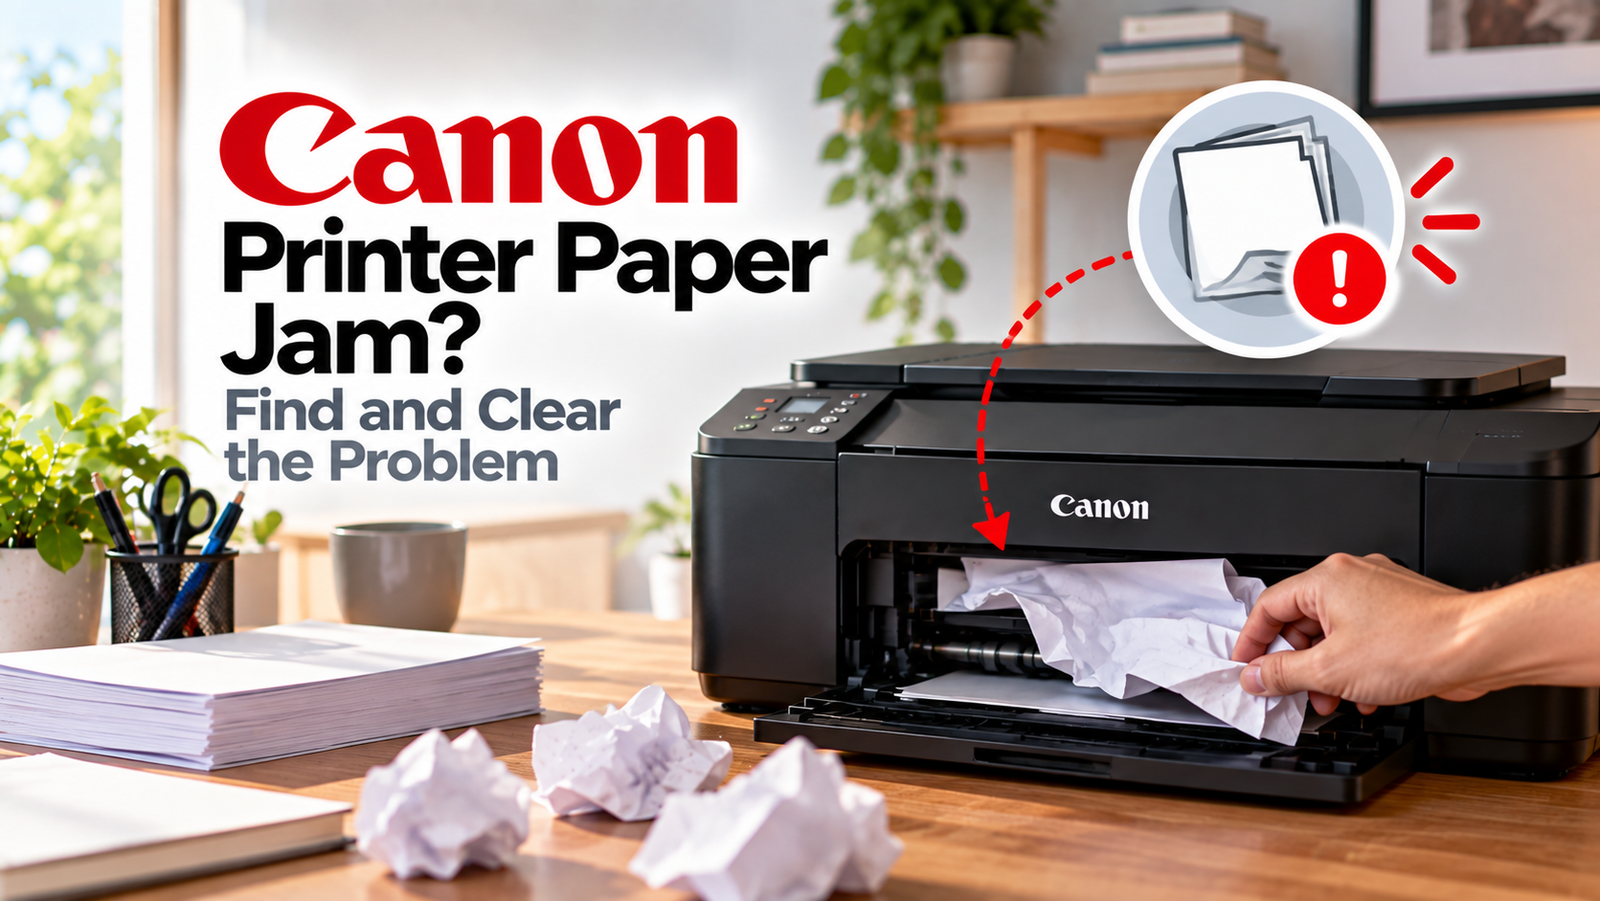
Canon Printer Paper Jam? Find and Clear the Problem
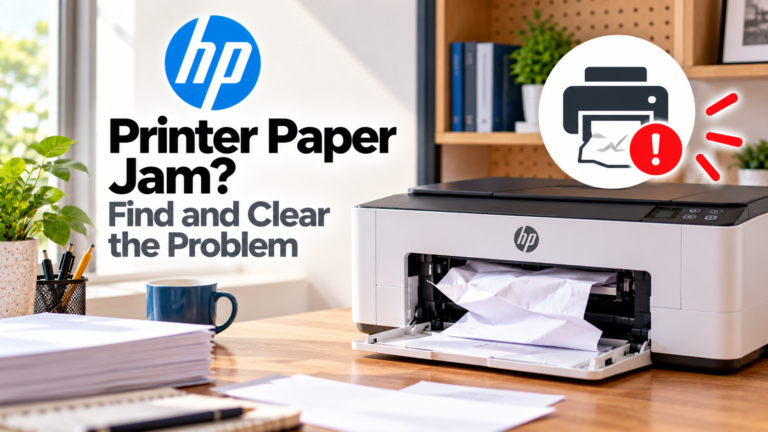
A Canon Printer Paper Jam can happen when paper is misaligned, curled, overloaded, incorrectly loaded, or stuck somewhere along the printer’s paper path. The printer may stop printing and display a paper-jam message even when you cannot immediately see the sheet.
The important thing is not to pull blindly on the paper. Canon’s support documentation recommends removing jammed paper gently and checking for small torn pieces that may remain inside the printer. The exact access points vary by model, so use the procedure that matches where the paper is stuck.
Quick Diagnosis: Start Here
| What you’re seeing | Start here |
|---|---|
| Paper is visible at the output slot | Go to Fix 1 |
| Paper is stuck in the rear tray or feed area | Go to Fix 2 |
| Paper is stuck inside the printer | Go to Fix 3 |
| Paper is stuck in the cassette | Go to Fix 4 |
| A torn piece of paper is still inside | Go to Fix 5 |
| The paper-jam message remains after clearing the paper | Go to Fix 6 |
| The printer keeps jamming repeatedly | Go to Fix 7 |
| Jams happen during two-sided printing | Go to Fix 8 |
| The problem started after changing paper | Go to Fix 9 |
| The printer still jams after everything looks clear | Go to Fix 10 |
Why This Happens
A paper jam does not always mean something is physically broken.
Common causes include:
- Paper loaded unevenly
- Paper guides positioned incorrectly
- Too many sheets loaded into the tray
- Curled, folded, damp or damaged paper
- Paper that is unsuitable for the printer
- A sheet stuck in the rear tray or output path
- Paper caught inside the printer
- Small pieces of previously jammed paper left behind
- A rear cover or other access cover that is not fully closed
- Problems in the duplex or two-sided printing path
- Foreign objects around the paper feed or output area
Canon specifically recommends aligning the edges of the paper before loading it and flattening curled paper where appropriate. Using unsuitable, folded, curled or damp paper can also cause feeding and jamming problems.
Fix 1: Remove Paper Stuck at the Output Slot
If you can clearly see the jammed sheet at the paper output slot, start there.
- Stop the current print operation.
- Hold the visible paper with both hands if possible.
- Pull it out slowly and gently in the direction that allows it to come out naturally.
- Do not yank the paper or pull aggressively at an angle.
- Check the output area carefully for any remaining scraps.
On some Canon models, the paper may be easier to remove from the rear side rather than the output side. If it does not come out easily, do not force it. Use the access procedure specified for your model instead.
If the paper tears, continue to Fix 5 before trying to print again.
Fix 2: Check the Rear Tray and Paper Feed Area
If the paper has not entered the printer properly, the jam may be around the rear tray or paper-feed area.
Remove the remaining sheets from the tray and inspect the feed path.
Then:
- Look for the leading or trailing edge of the jammed sheet.
- Remove it slowly if it is accessible.
- Check for scraps of paper.
- Remove any foreign objects that may have fallen into the tray.
- Reload the paper only after the path is clear.
If your Canon printer has adjustable paper guides, make sure they are positioned correctly against the paper stack. Canon notes that incorrectly positioned guides can prevent proper feeding.
Do not reach into areas you cannot safely access or touch internal components unnecessarily.
Fix 3: Clear Paper Stuck Inside the Printer
If the sheet has moved beyond the tray but is stuck inside the printer, you may need to open the appropriate cover to reach it.
The exact procedure depends on the Canon model.
Before removing anything, check the printer’s displayed paper-jam message or your model’s Canon support documentation for the specified jam location.
Once the correct access area is open:
- Locate the paper carefully.
- Hold the sheet with both hands where possible.
- Pull it slowly in the direction of the paper path.
- Avoid excessive force.
- Check behind and around the visible sheet for additional fragments.
- Close the cover securely when finished.
Do not assume that the direction that looks easiest is always the correct direction. Canon’s instructions for different models specifically warn against using excessive force because paper can tear or printer components can be damaged.
Fix 4: Check the Paper Cassette
If your Canon printer uses a paper cassette and the jam occurred while feeding from it, remove the cassette according to the printer’s instructions.
Then inspect the area around the cassette and paper path.
If you can see the jammed paper:
- Hold the paper carefully.
- Pull it slowly without forcing it.
- Remove any loose paper fragments.
- Check whether the remaining paper stack is aligned.
- Reinsert the cassette securely.
If the paper is difficult to remove from the cassette area, do not force it. Some Canon models require the paper to be removed from another access point instead.
Fix 5: Look for Small Pieces of Torn Paper
This is one of the most important steps if you previously had a serious jam.
A printer can continue displaying a paper-jam error even after the main sheet has been removed if a small piece remains inside the paper path.
Inspect:
- The paper output slot
- Rear tray
- Paper cassette area
- Accessible internal paper path
- Duplex/two-sided printing area
- Any cover or transport area specified by your model
Use a good light if necessary.
Do not use sharp objects to dig around inside the printer. If you cannot safely reach a fragment, check the Canon procedure for your exact model rather than trying to extract it by force.
Canon’s troubleshooting documentation specifically advises removing all remaining pieces of torn paper because they can cause another jam. Canon
Fix 6: Clear the Paper-Jam Message
If all visible paper has been removed but your Canon printer still says Paper Jam, don’t immediately assume that the printer is defective.
First check whether:
- A small paper fragment remains inside
- A rear cover or other access cover is not fully closed
- The cassette is not seated correctly
- The printer requires a cover to be opened and closed to reset the error
On some Canon models, opening and closing the relevant cover after clearing the jam resets the message. The exact reset procedure varies by model.
If the printer was powered off during the jam-clearing process, some models may also cancel the existing print queue. You may need to send the document again.
Fix 7: Check the Paper Before Reloading It
If the same paper keeps causing jams, the problem may be with the paper rather than the printer.
Take the paper out and check for:
- Curled edges
- Folded sheets
- Wrinkles
- Dampness
- Sheets sticking together
- Uneven edges
- Paper that is too thick or too thin for the printer
- Incorrect paper size
- Paper loaded above the tray’s limit
Canon recommends aligning the edges of a paper stack before loading it and flattening curled paper where appropriate. Canon also lists folded, curled, wrinkled and damp paper among media that can cause feeding problems on applicable models. Canon
Try a fresh, properly stored stack of paper if you suspect the existing paper is the problem.
Fix 8: Check Two-Sided Printing
If paper jams mainly when printing on both sides, the problem may be occurring in the printer’s duplex or two-sided paper path.
First clear the current jam completely.
Then check whether:
- The paper is suitable for automatic duplex printing
- The paper is loaded correctly
- A piece of paper remains in the duplex path
- A duplex transport cover or guide is fully closed
Some Canon printers have a separate transport area for two-sided printing, so the jam may not be visible from the normal output slot.
Do not try to force the paper through the duplex mechanism. Follow the paper-jam procedure for your particular model.
Fix 9: Reload the Paper Correctly
Once the printer is completely clear, reload the paper carefully.
For printers using a rear tray:
- Align the edges of the paper stack.
- Make sure the sheets are not curled or damaged.
- Load the correct paper size and type.
- Position the stack as specified by the printer.
- Adjust the paper guides so they sit correctly against the paper without squeezing it.
- Stay below the tray’s maximum loading mark.
For cassette-fed models, adjust the paper guides to the correct paper size and make sure the stack is positioned correctly.
Canon notes that loading paper without properly aligning the edges can cause paper jams, while incorrectly positioned paper guides can interfere with feeding. Canon
Fix 10: Check for an Underlying Mechanical Problem
If the printer continues to jam after you have:
- Removed the paper completely
- Checked for fragments
- Reloaded fresh paper correctly
- Checked the paper guides
- Checked the rear tray and cassette
- Checked the duplex path
- Closed all relevant covers properly
then the issue may be more than a simple paper obstruction.
Repeated jams can be associated with problems in the paper-feed path, rollers, sensors or other internal components.
At this point, avoid repeatedly forcing paper through the printer. If paper cannot be removed safely, tears inside the printer, or the jam message continues after the paper has been cleared, Canon recommends contacting its service support. Canon
How to Prevent Canon Printer Paper Jams
A few simple habits can reduce recurring jams:
- Store paper flat and in a dry environment.
- Do not use visibly curled, folded or damp sheets.
- Align the paper stack before loading it.
- Use the correct paper size and type for your Canon model.
- Do not exceed the tray’s paper limit.
- Set the paper guides correctly.
- Load paper in the orientation specified by the printer.
- Remove printed pages from the output area if they begin accumulating.
- Check the paper path after every significant jam for small fragments.
- Avoid forcing paper out of the printer.
- If jams occur only with a particular paper type, try a different compatible paper.
If the printer repeatedly jams with different paper types and correct loading, the problem may require service rather than another paper adjustment.
Frequently Asked Questions
Why does my Canon printer keep saying paper jam when there is no paper?
A small piece of torn paper may still be inside the printer. Check the accessible paper path, output area, rear tray, cassette and duplex area. On some models, opening and closing the relevant cover also clears the jam message.
Can I pull jammed paper out of my Canon printer?
Yes, if the paper is safely accessible, but pull it slowly and in the appropriate direction. Do not use excessive force because the paper can tear or internal components can be damaged.
Why does my Canon printer keep jamming with new paper?
Check whether the paper is curled, damp, folded, incorrectly loaded or unsuitable for the printer. Also check the paper guides and make sure you are not exceeding the tray’s loading limit.
Why does my Canon printer jam during double-sided printing?
The paper may be getting stuck in the duplex or two-sided printing path. Check that the paper is compatible with duplex printing and inspect the duplex area for remaining paper or fragments.
Can curled paper cause a Canon printer paper jam?
Yes. Canon identifies curled paper as one of the conditions that can interfere with proper paper feeding and cause jams on applicable models.
What should I do if the paper tears inside my Canon printer?
Remove all accessible pieces carefully and check the entire accessible paper path for remaining fragments. If part of the paper is inaccessible or the printer continues reporting a jam, stop trying to extract it forcefully and consult Canon support for your specific model.
Why does my Canon printer jam with one type of paper but not another?
Different Canon printers support different paper sizes, weights and media types. Paper that is too thick, too thin, curled or otherwise unsuitable can cause feeding problems. Check the supported media specifications for your particular model.